Guru Session #13: Body Tracking with Depth Cameras (Fri May 8th, 6pm CEST/5pm GMT/12pm EDT/9am PDT)
-
-
You said:
"The alpha channel is transparent in AfterEffects but black in Isadora no matter how I change the settings in the movie player."
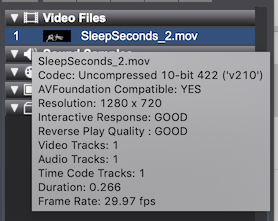
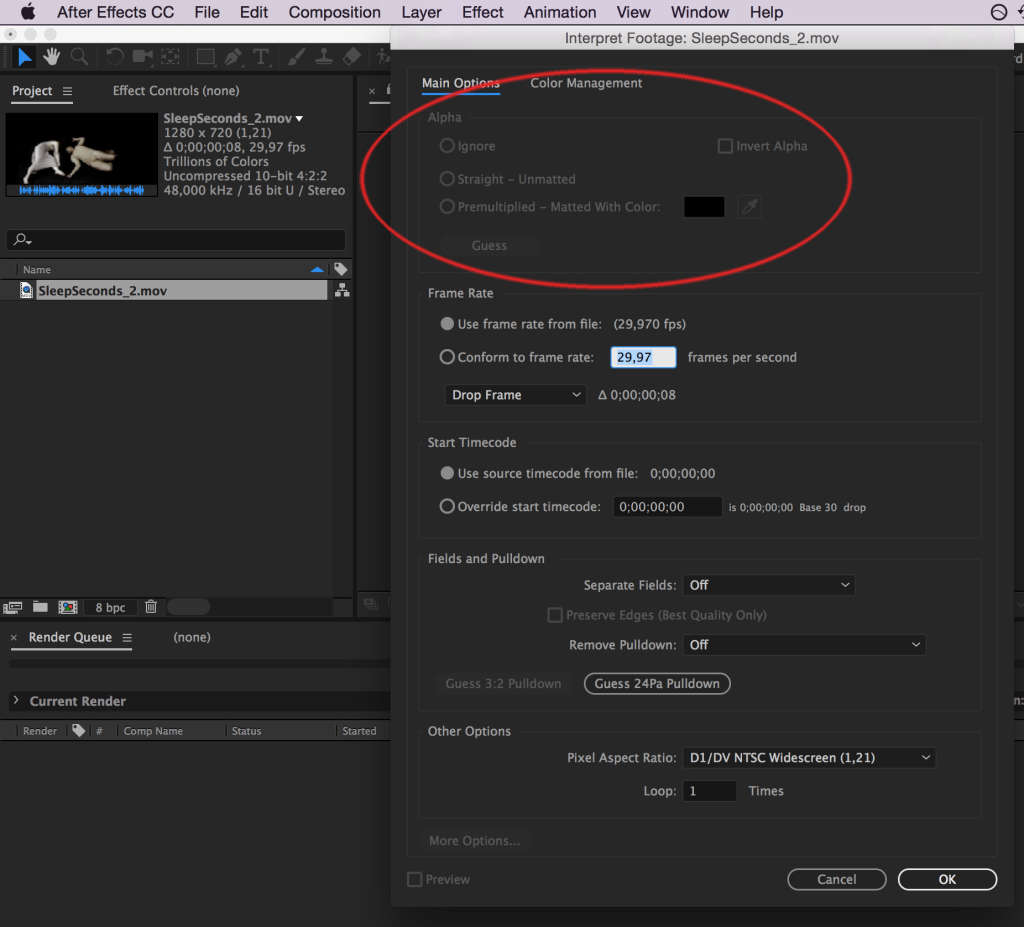
But the movie you uploaded is an uncompressed 10 YUV Movie -- which I found out by hovering over the movie in Isadora. My friend opened your clip in After Effects and it also said that there was no alpha channel.

You must export the movie with a codec that actually supports an alpha channel, e.g., Apple Pro Res 4444 or HapA.
Best Wishes,
Mark -
Thanks Mark, I'm puzzled-the Alpha channel showed up on my end at least in AE. I've been using an older version of Premiere which doesn't have those codecs but I will try on my other computer which has Creative Cloud on it. Thank you for taking the time for this.
-
@nandada I'm not sure how it is possible that you see an Alpha in After Effects. Does it also show up if you import the file you posted, right click on it and choose "Interpret Footage"?

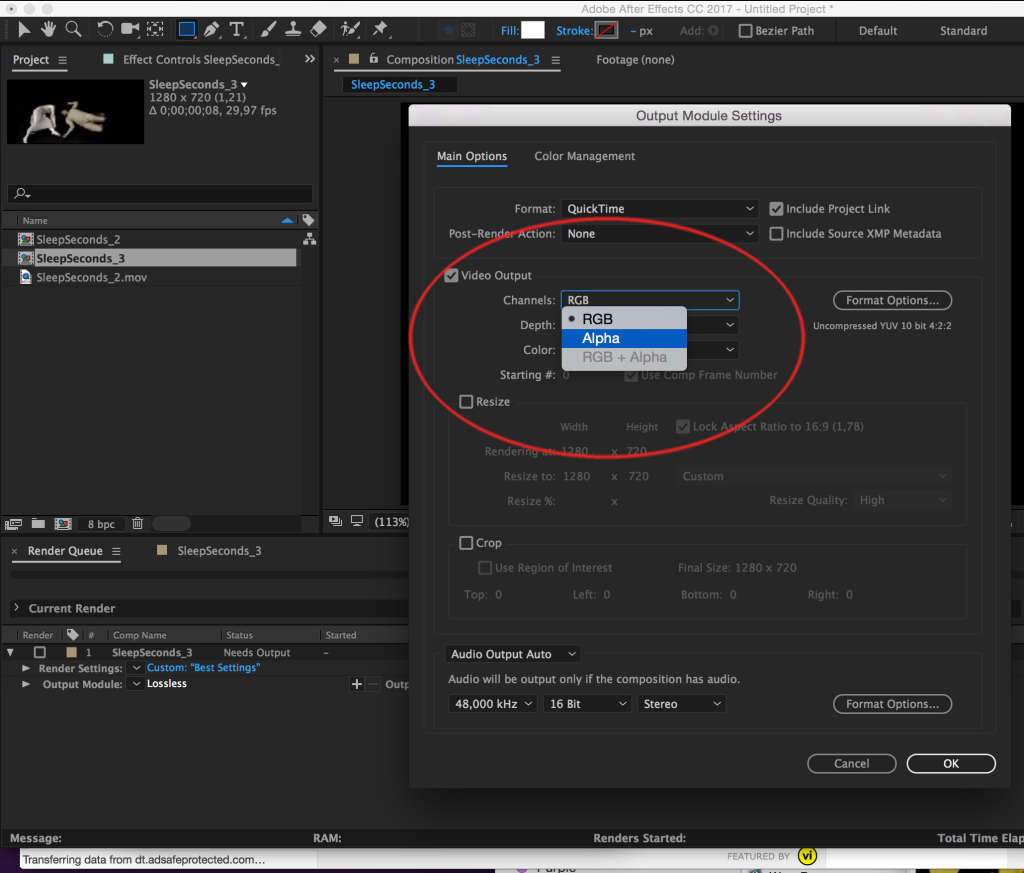
As far as I know, Uncompresssed 10-bit codec didn't support RBG+, also in the older versions of After Effects/Premiere, which means you can either get a video with only the Alpha or only the RGB channels. If you want to do that, you'll have to add in the Alpha Channel in Izzy with the "Add Alpha Channel" actor. The codec you should have is "Animation", but it will possibly produce a very large file - make sure to check "RGB+Alpha" on export. Same with the codec set to none "None(Uncompressed RGB 8-bit).. However, if you have the possibility to use ProRes or Hap, I would recommend using one of the codecs Mark suggested above.

-
@enibee THANKS SO MUCH!!! This answers the question. I had tried animation and picked RGB + alpha but didn't know to use add alpha channel . It's a hassle to go back and forth between my Mac show machines and my PC editing rig but I will see if HAP is a possibility on my new Premiere
-
-
@mark They show up in Isadora but not in Premiere. I'll try to figure out how to get them going in Premiere.
-
Hi there,
The .oni file allows you to record the movement of the OpenNI trackers inside Isadora. That way you don't have to a dancer running around the entire time. You just press record, let the dancer / person do his thing and press record again. When you enter the filename inside Isadora you can then recall that movement and keep patching.
[STAFF NOTE: This is in response to the comment below, which was originally its own thread but has been moved here]
-
@kdmatos said:
Hello everybody.
First of all thank you very much Mark for your excellent work. Your pedagogical qualities are also freat.
I have a question, in relation the guru 13 session:
at one point you use on the actor an .oni file in the first example, i.e. the video film dealing with the cathedral. How did you convert the movie into an .oni file? Why doing so?
Thanks in advance, Jean-Marc Matos
[STAFF NOTE: @kdmatos I moved your question and @Juriaan 's response to this thread so that all the discussion could be kept in one place.]
-
@mark Thank you for this another fantastic guru session. I am trying to locate the tutorial in the material download. I have clicked on the link you have provided but the tutorial.izzy file is not included in the download. I am on Mac Siere 10.12.6. Thank you.
-
@luciedance said:
the tutorial.izzy file is not included in the download.
The file guru13-tracking-with-openni-tracker.izz is in the download. Isn't that the file you are looking for?
Best Wishes,
Mark -
Hello, I am trying to follow this tutorial, but the link for the session materials seems to be for a different patch to what is featured - would it be possible to get a link to the patch from the tutorial? Many thanks !
-
@smoon I have the file titled "guru13-tracking-with-openni-tracker" but the file used at the start of the tutorial titled "Openni-tracker-tutorial" is missing
Many thanks in advance for anyone able to advise !
-
Here's the OpenNI Tracker Tutorial: https://troikatronix.com/add-ons/tutorial-openni-tracker/
-

@woland thanks so much for the reply - so I have the Open Ni tracker and the camera set up is working fine but what I don't have is the patch which is used at the start of the tutorial, which is for a skeleton visualiser
I have the second patch used in the tutorial but not the first, which seems to be missing from the download file
many thanks in advance for any help you might be able to offer!
-
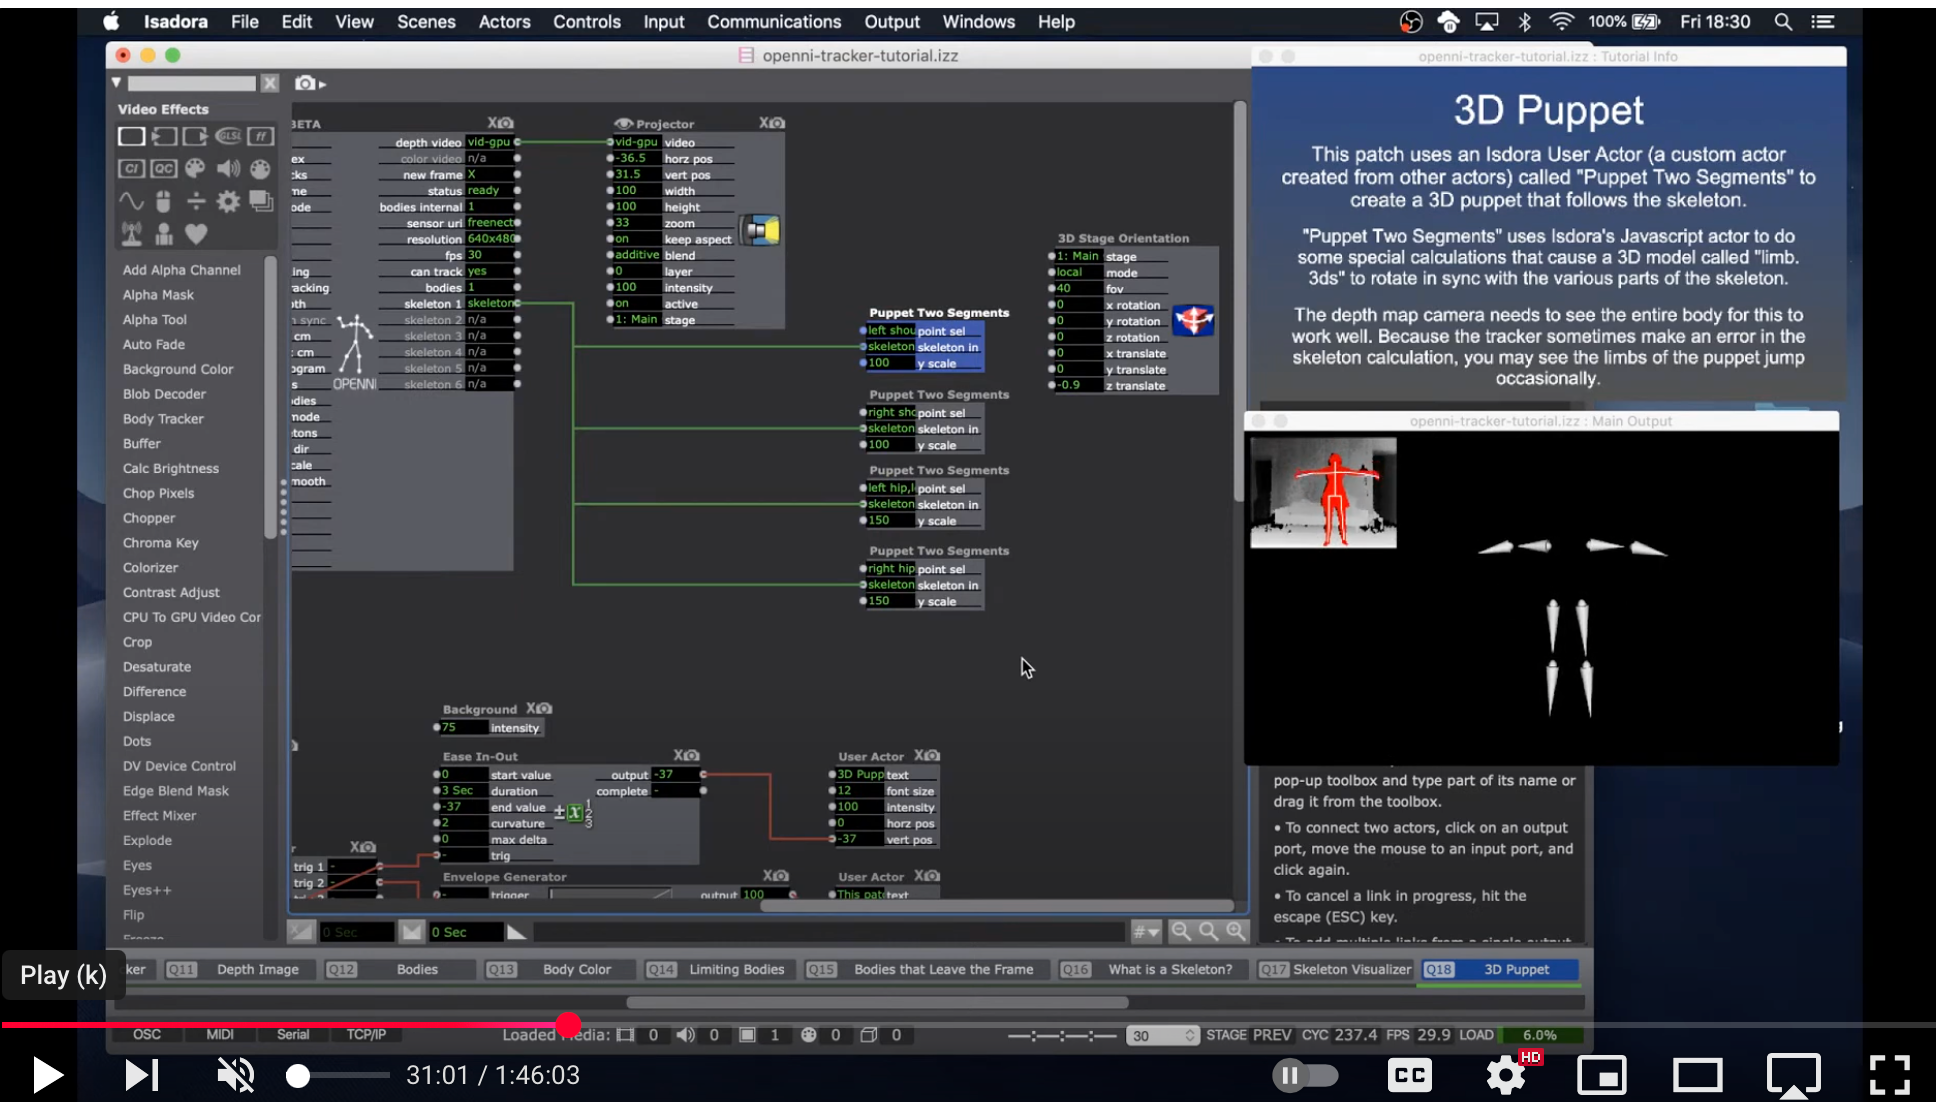
The name on the file in the screenshot you are providing is "openni-tracker-tutorial.izz". The link I provided is to the OpenNI Tracker Tutorial file, not the Guru session. Please download the file I linked and tell me whether or not it is the file you were looking for: https://troikatronix.com/add-ons/tutorial-openni-tracker/
-
@woland Yep thats the one ! thank you so much !
-
No problem :)