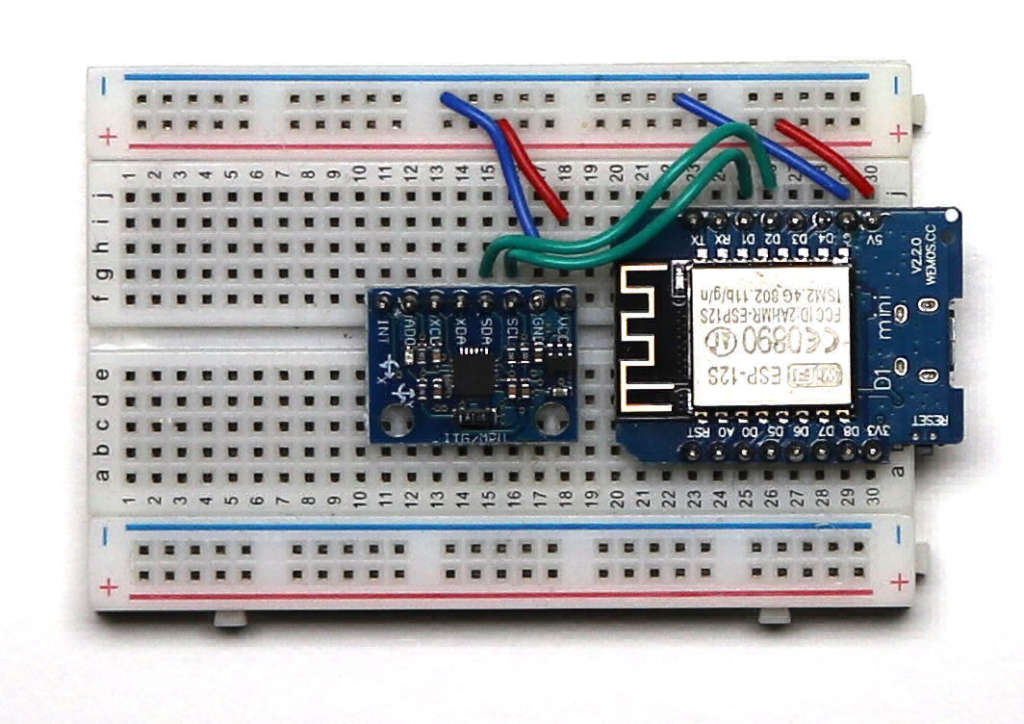
ESP8226 and a gyroscope/accelerometer MPU-6050 using OSC
-
WeMos D1 mini
Battery module
Battery
MPU-6050
some wires
Isadora
Arduino IDE (https://www.arduino.cc/en/main/software)
ESP boards installed (https://github.com/esp8266/Arduino)
Adafruit MP-6050 library (Click the Manage Libraries ... menu item, search for Adafruit MPU6050, and select the Adafruit MPU6050 library and click Install:)
MPU-6050 library (Click the Manage Libraries ... menu item, search for MPU6050, and select the MPU6050 library and click Install:)
The InvenSense MPU-6050 sensor contains a MEMS accelerometer and a MEMS gyro in a single chip. It is very accurate, as it contains 16-bits analog to digital conversion hardware for each channel. Therefor it captures the x, y, and z channel at the same time. The sensor uses the I2C-bus to interface with the Arduino. (https://playground.arduino.cc/Main/MPU-6050/#easy)
Calibrate
I found that the MPU-6050 library examples didn't show up when the board WeMos D1 was selected. Just select the board to Arduino Uno load the IMU-zero example, change the board back to the ESP8226 you are using, compile. You need to make sure the MCU-6050 is on a flat stable surface before you upload the calibration sketch which takes a while. After the calibration is done you can use the attached sketch to do the OSC business. Make sure you put in the IP address of the computer you are running Isadora on and also match up the port number which is 12345 by default.
The WiFimanager will take care of the WiFi settings, just look for a network called AutoConnectAP on your mobile phone, a window will open up, click the scan button and select the WiFi you are going to use. You can check the data sent by using the serial monitor in the Arduino IDE, just make sure the baud rate matches the Serial.begin value in the void setup loop in the sketch..in the sketch used it is 112500.
Problems
Sketch won't compile: have you installed the libraries and the ESP8226 board?
Sketch won't load: Is the board connected to your computer ( yes I have done this!)? Is the correct board selected in the Arduino IDE tools menu? Have you installed the correct driver CH340 for the USB? (https://sparks.gogo.co.nz/assets/_site_/downloads/CH34x_Install_Windows_v3_4.zip or https://github.com/adrianmihalko/ch340g-ch34g-ch34x-mac-os-x-driver ).
Getting the data into Isadora
Fire up Isadora. Goto the communications window and select set up stream, click on the auto detect option and you should see the stream appear with 6 values, it wont show the individual values. Add a Multi listener actor to the stage and select 6 as the number of channels. You'll see the MPU-6050 data streaming in. The excellent Guru session by Mark covers all this in greater and more proficient detail.
The data needs smoothing out a bit with either a smoother actor or some Java script.
That's it..now you can use the data in your show in whatever way you choose.
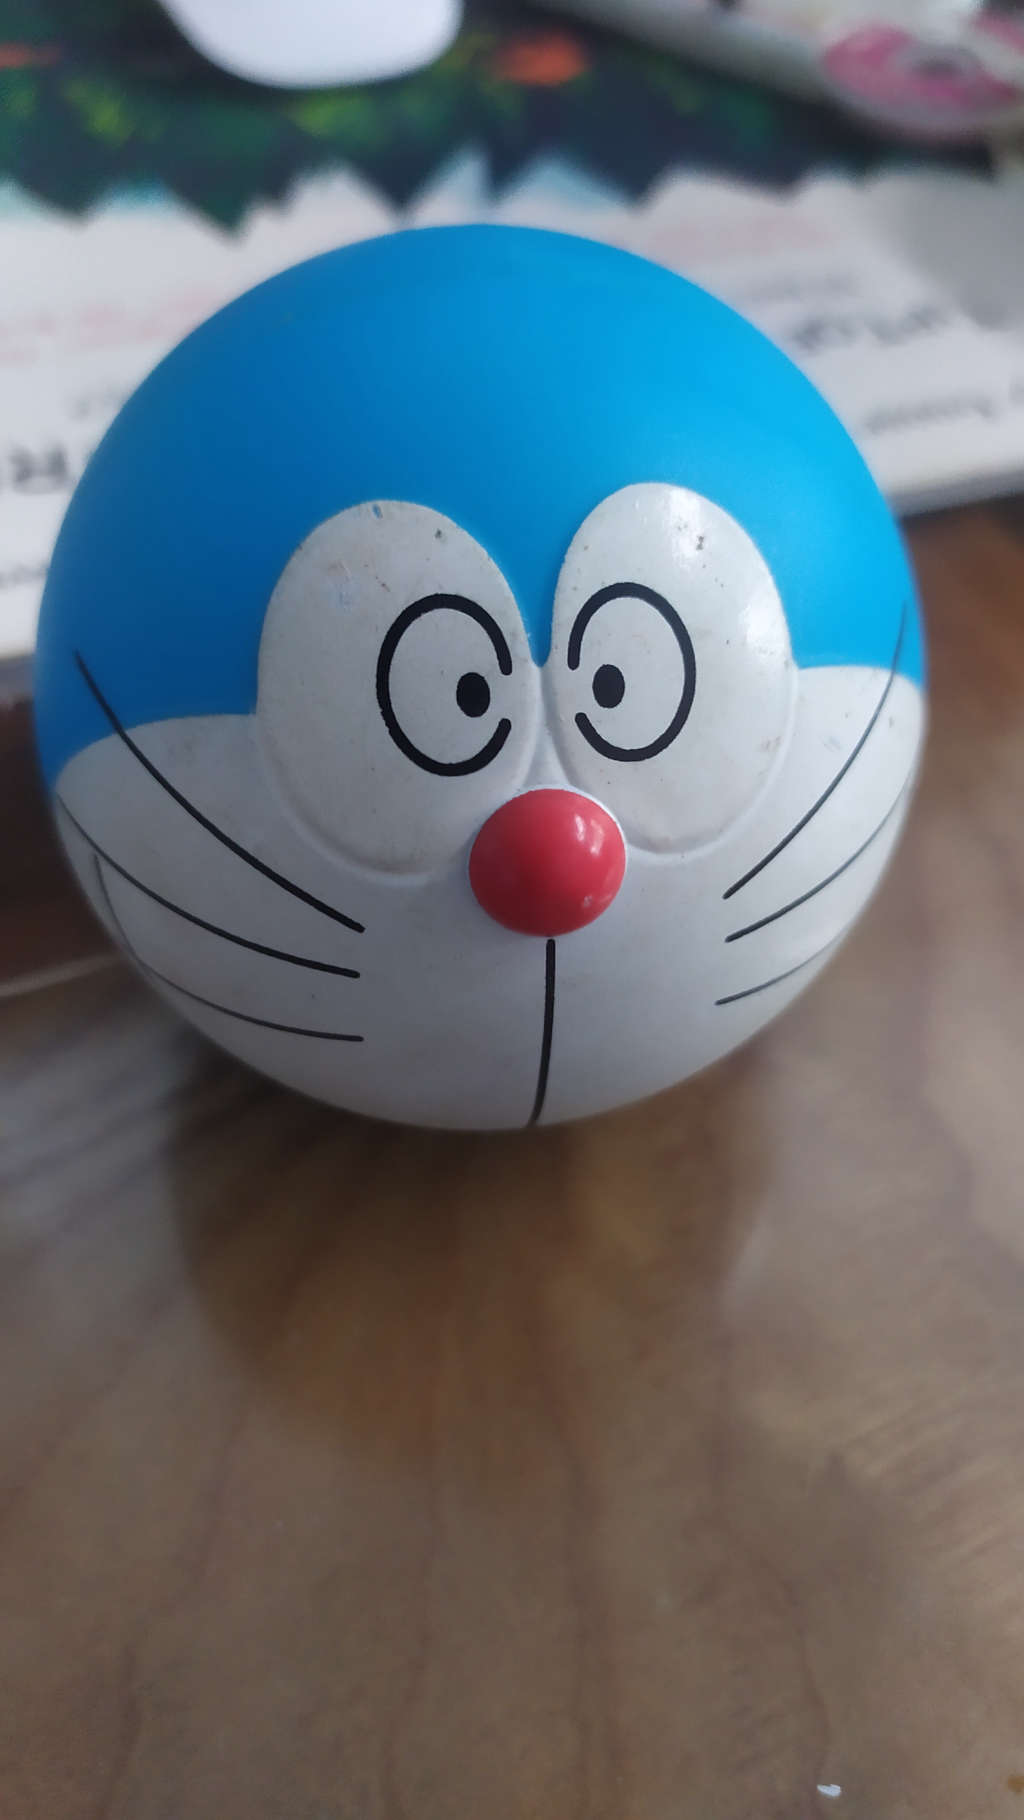
I put mine in a toy I found locally in a supermarket.
Running: Asus ROG Strix G16
Processor Intel(R) Core(TM) i7-14650HX (2.20 GHz)
Installed RAM 64.0 GB
GPU NVIDIA RTX5060located in Da Nang, Vietnam.
Github https://github.com/agentsimon -
Opps here is the sketch mpu6050_unifiedsensors.ino.zip
Running: Asus ROG Strix G16
Processor Intel(R) Core(TM) i7-14650HX (2.20 GHz)
Installed RAM 64.0 GB
GPU NVIDIA RTX5060located in Da Nang, Vietnam.
Github https://github.com/agentsimon -
Thanks for posting your experience with putting the unit together. I will definitely have a look at the implementation. I have some 9DoF IMU sensors on their way from China to match up with a new batch of ESP boards. The absolute position IMU sensor market is complicated to navigate as there are so many options. The IMU sensors that use what is called ‘fusion’ algorithm are very expensive, but they do all the math to return absolute 3D positioning. The IMU sensors I am getting are based on the Bosch Sensortec BNO055, but I already know that the sensor based on BNO060 are reported to be superior. I guess solid research before investment is critical, particularly as the cost of these VR targeted sensors can get very high per unit.
Thanks again for your information.
Kind regards
Russell
-
No problem. The ones I bought are as cheap as chips but you pays your money...They are quite noisy and so far I haven't had much success calming them down. I'll dig around online tomorrow to see how to tame them, maybe it is better to do it on the ESP8226 board or on a Teensy4. There will probably be a slight lag and it would be interesting to see how a performer changes to deal with that.
Simon
-
Hi - this is a great tutorial, thank you.
All nicely working as you describe. However, I can't find the calibration script for the MPU, even when selecting
Uno in the board menu. Can you post the example code, or send me a copy please?
Thanks
Tim