• Products
    • Isadora
    • Get It
    • ADD-ONS
    • IzzyCast
    • Get It
  • Forum
  • Help
  • Werkstatt
  • Newsletter
  • Impressum
  • Dsgvo
  • Press
  • Isadora
  • Get It
  • ADD-ONS
  • IzzyCast
  • Get It
  • Press
  • Dsgvo
  • Impressum
FORUM

Navigation

    • Register
    • Login
    • Search
    • Categories
    • Recent
    • Popular
    • Tags

    [ANSWERED] Help with exporting 3D models from Cheetah 3D

    How To... ?
    3
    9
    1583
    Loading More Posts
    • Oldest to Newest
    • Newest to Oldest
    • Most Votes
    Reply
    • Reply as topic
    Log in to reply
    This topic has been deleted. Only users with topic management privileges can see it.
    • M
      MODI last edited by Juriaan

      Hi, inspired by Mark's Guru session 5 I have bought Cheetah 3D to create 3D models that I can import in Isadora.

      However I seem to miss something in the workflow because after exporting an object to a 3ds file I only get a black object invisible in Isadora, and the image texture is gone.

      These are the steps I have done in Cheetah:

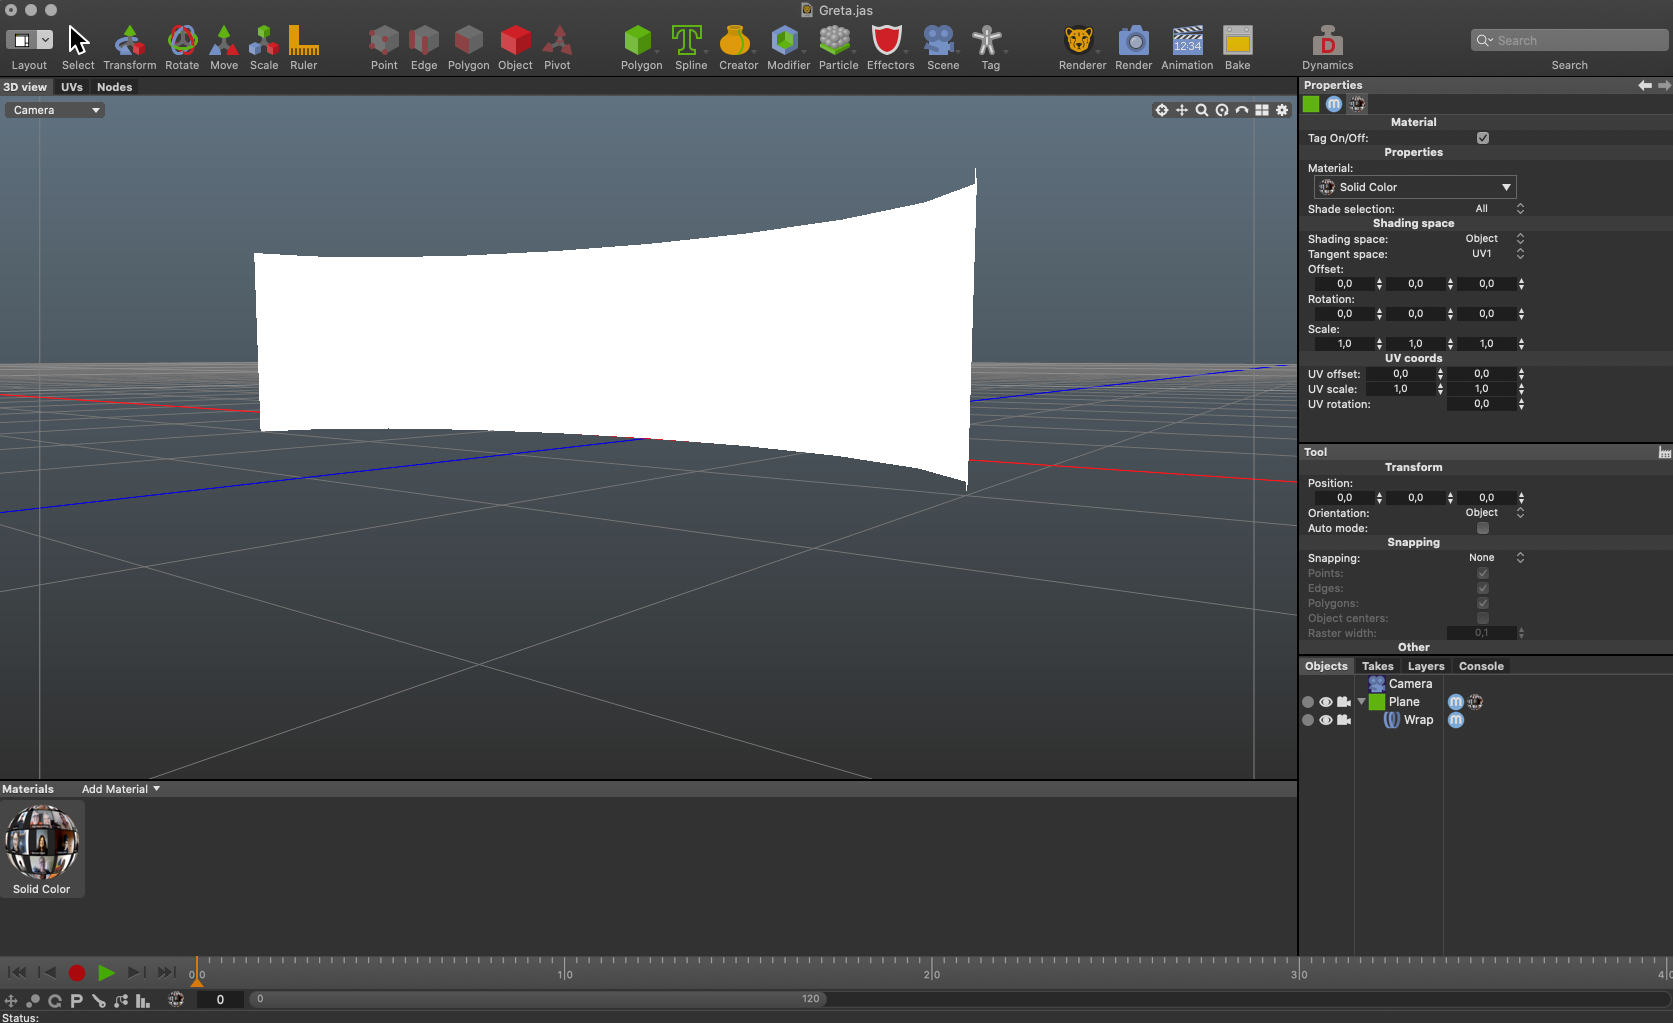
      1. Bring polygone "plane" on the scene.

      2. Add modifier "wrap" to get a curved screen like object

      3. Add material / special / solid colour

      4. Drag material onto polygone in object browser.

      5. In the inspector, texture / emissive/ image /load image /select a png on my computer

      6. Drag texture onto the plane object in object browser

      7. Render (worked fine) and did display the image on the object

      8. Save project (Jas file)

      9. File/Export/3ds

      10. all files (image, Jas and des in one folder) to import in Isadora

      However, this does not work :( (see screen shots) Help greatly appreciated!


      mark bonemap 2 Replies Last reply Reply Quote 0
      • mark
        mark @MODI last edited by

        @modi

        Are you forgetting to set the file format to 3DS in the Export File dialog?


        Best Wishes,
        Mark

        Media Artist & Creator of Isadora
        Macintosh SE-30, 32 Mb RAM, MacOS 7.6, Dual Floppy Drives

        M 1 Reply Last reply Reply Quote 0
        • M
          MODI @mark last edited by

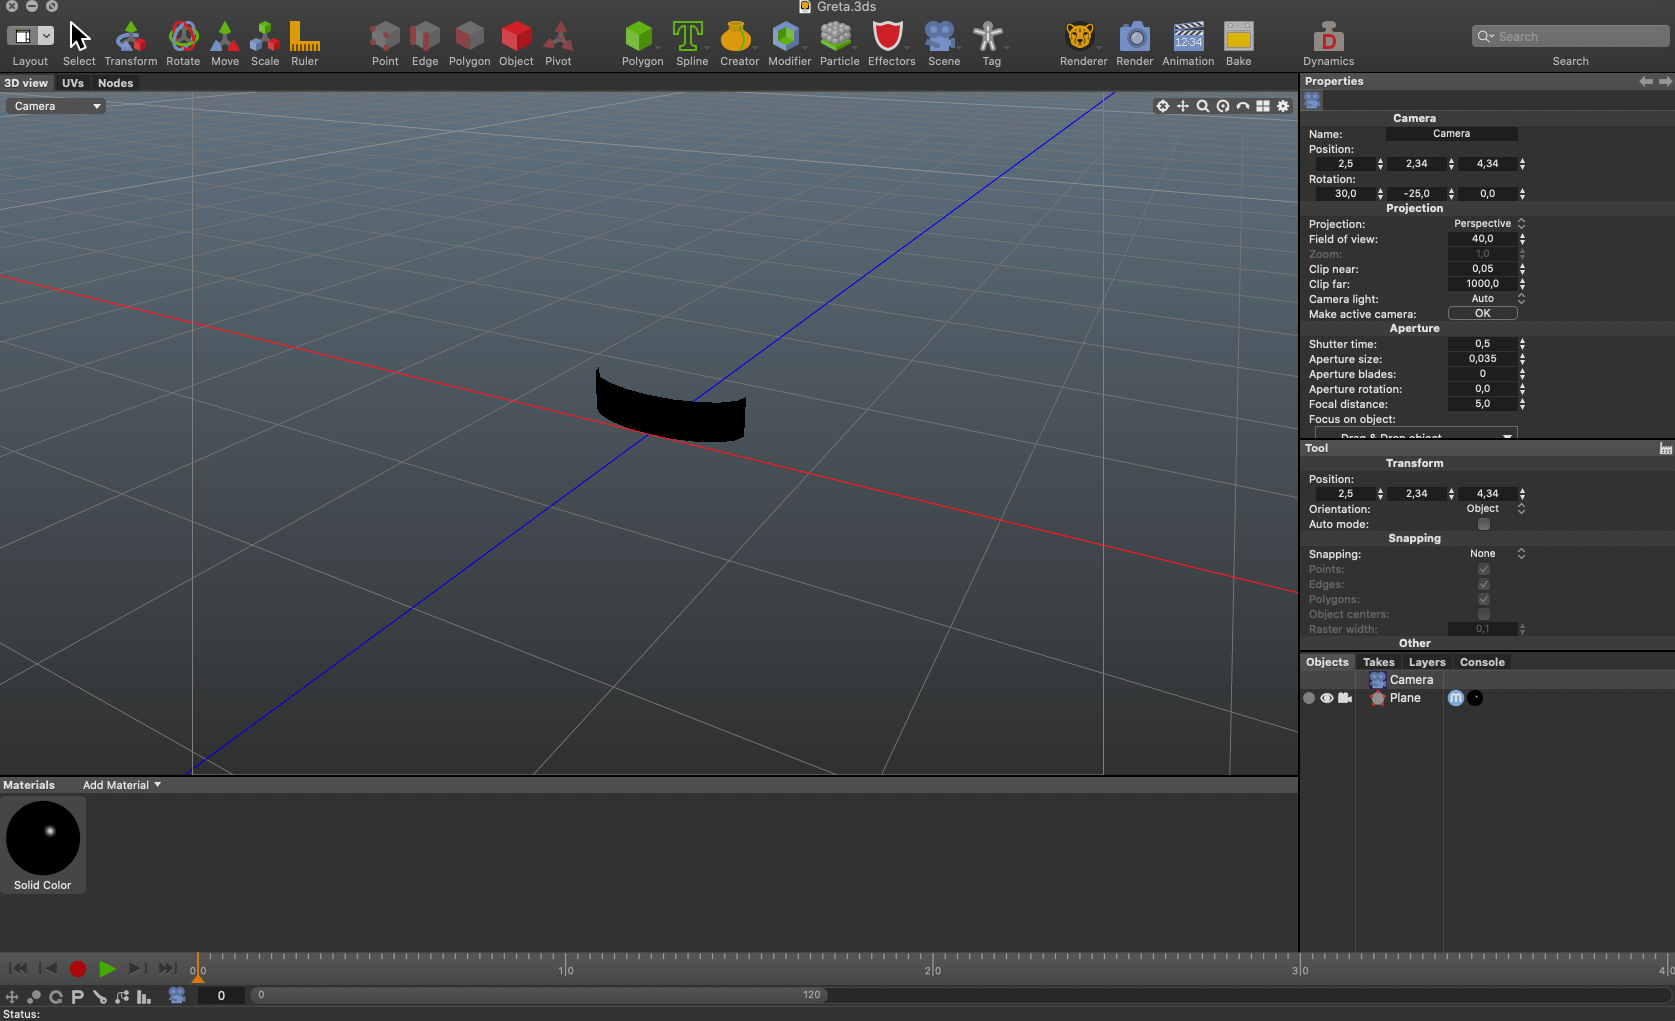
          @mark: No, I did export to 3ds file format. I actually managed to "see" the 3d object in Isadora now, when I turn the "lighting" parameter on (see screen shot). However, I still can't see the texture that I assigned in Cheetah... Also, the object is invisible when I want to rotate it and see/use the backside of it.

          M 1 Reply Last reply Reply Quote 0
          • M
            MODI @MODI last edited by

            @mark: the screen shot

            M 1 Reply Last reply Reply Quote 0
            • M
              MODI @MODI last edited by MODI

              @mark: 

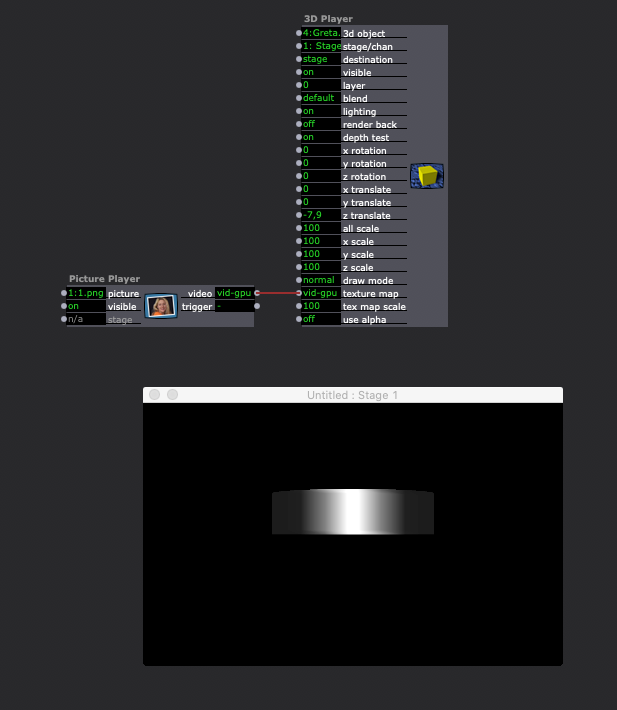
              Ok, I figured this out. 

              In Cheetah,

              1. Bring polygone on the scene. (Work on it if needed)

              2. Add material.  

              3. Drag material onto polygone in editor or object browser.

              4. In the inspector (texture) associate image (load).

              5. Make polygone editable.

              6. Bake texture.

              7. Check in Render.

              8. Export to 3ds (or any other file format you need).

              Works now in Isadora :)

              Now I need to find out how to prepare the right size textures in Cheetah to prepare for the texture map input in Isadora.
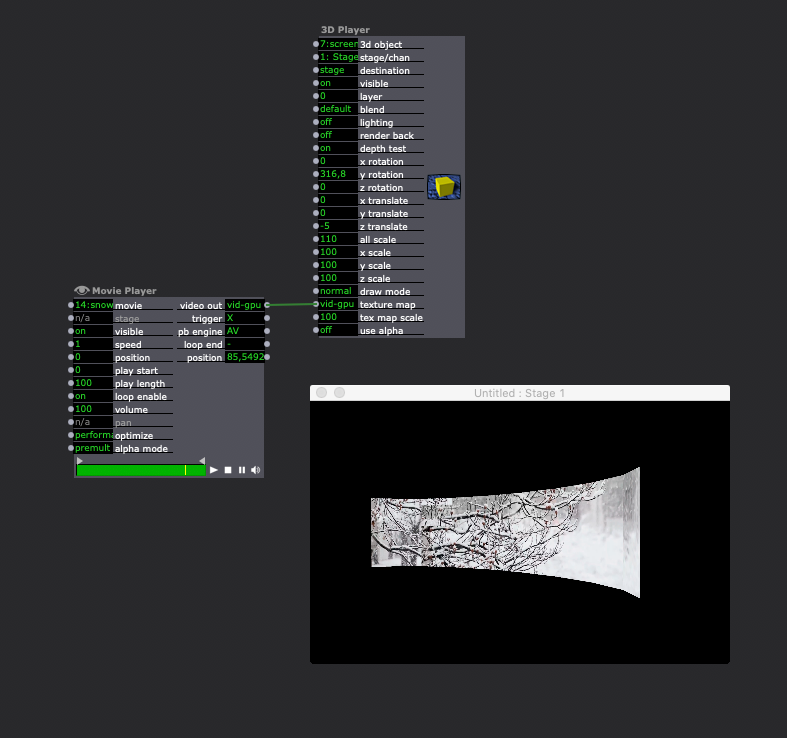
              1 Reply Last reply Reply Quote 0
              • bonemap
                bonemap Izzy Guru @MODI last edited by bonemap

                @modi

                Hi,

                Good to see that you worked it out. I have recorded a screen capture of the process of quickly applying a diffusion texture. It does not cover the Cheetah 3D UV mapping that you might want to get into. But I am parking this link here for others who might be looking for answers to this...

                Quickly adding image texture to a 3D model in Cheetah 3D for use in Isadora

                Best Wishes

                Russell

                http://bonemap.com | Australia
                Izzy STD 4.2 | USB 3.6 | + Beta
                MBP 16” 2019 2.4 GHz Intel i9 64GB AMD Radeon Pro 5500 8 GB 4TB SSD | 14.5 Sonoma
                Mac Studio 2023 M2 Ultra 128GB | OSX 15.3 Sequoia
                A range of deployable older Macs

                M 1 Reply Last reply Reply Quote 0
                • M
                  MODI @bonemap last edited by

                  @bonemap:This is great, so helpful, thanks Russell!

                  I see you created the curved screen with a different technique (not a plane applying the wrap modifier). As a result you get an undistorted texture, whereas with the plane/wrap technique the image distorts. How did you do the "extrude" to get to the curve? Thanks so much again!

                  bonemap 1 Reply Last reply Reply Quote 0
                  • bonemap
                    bonemap Izzy Guru @MODI last edited by bonemap

                    @modi

                    Hi,

                    I used a spline extrusion, here is a video capture

                    Best Wishes

                    Russell

                    http://bonemap.com | Australia
                    Izzy STD 4.2 | USB 3.6 | + Beta
                    MBP 16” 2019 2.4 GHz Intel i9 64GB AMD Radeon Pro 5500 8 GB 4TB SSD | 14.5 Sonoma
                    Mac Studio 2023 M2 Ultra 128GB | OSX 15.3 Sequoia
                    A range of deployable older Macs

                    M 1 Reply Last reply Reply Quote 1
                    • M
                      MODI @bonemap last edited by

                      @bonemap: Thanks Russell, so helpful! 

                      Best, Stephan

                      1 Reply Last reply Reply Quote 0
                      • First post
                        Last post