Hello, I'm fairly new to Isadora, but am working on a project where I need to retrieve live chart data from a website. One of the charts needs to be the live price of gold. Afterwards I will be linking this data to a volume control for some audio. I can't quite figure out how to get the data for the gold price into Isadora. Does anyone have any ideas?
Thanks!
I've been searching around for fluid simulations on shader toy and the ones that interest me have multiple buffers. I read that using buffers in GLSL actors will eventually arrive. Not yet??
Thanks!
Some ideas (though I admit I don't work with 3D much in Isadora):
Use the 3D actors:
- Import the .3ds file into Isadora and select it with the 3D Model Particles or 3D Player actor in Isadora.
- Feed your video as the texture input.
- Adjust the model’s scale, rotation, and translation until the face is aligned with your physical setup.
- If the print is concave, you can flip the normals (inside-out mesh) or rotate the camera 180° to “project” into the cavity.
- Once it looks correct virtually, align the projector physically to match this digital view.
(Again, I don't know that what I'm saying here fully makes sense because I don't work with 3D very much, so take all the steps above with a grain of salt.)
Use GLSL:
- You could use the existing TT GLSL "TT Bulge Distortion"
- You could also try this new TT Bulge Warp shader that I've just put together (I don't know if it's any good):
/*
TT Bulge Warp - Fragment Shader
version v1.3
*/
// ISADORA_PLUGIN_NAME("TT Bulge Warp")
// ISADORA_PLUGIN_DESC("Applies a controlled radial bulge/concave distortion. Adjustable center, radius, and tiling.")
// ISADORA_FLOAT_PARAM(bulge_amount, bulg, -7.0, 7.0, 0.3, "Amount of bulge. Positive = bulge, Negative = pinch.")
uniform float bulge_amount;
// ISADORA_FLOAT_PARAM(radius, radi, 0.0, 1.0, 0.5, "Radius of effect from center, as 0–1 proportion of image.")
uniform float radius;
// ISADORA_FLOAT_PARAM(horz_center, cx, -100.0, 100.0, 0.0, "Horizontal center point (in % of image width).")
uniform float horz_center;
// ISADORA_FLOAT_PARAM(vert_center, cy, -100.0, 100.0, 0.0, "Vertical center point (in % of image height).")
uniform float vert_center;
// ISADORA_INT_PARAM(tile, tile, 0, 1, 0, "Turn tiling on/off. Clamp if off.")
uniform int tile;
uniform vec2 resolution;
uniform sampler2D tex0;
void main(void) {
    vec2 uv = gl_TexCoord[0].xy;
    // Center position as normalized coordinates
    vec2 center = vec2(0.5 + horz_center / 100.0, 0.5 + vert_center / 100.0);
    vec2 delta = uv - center;
    float dist = length(delta);
    // Only apply within radius
    float effect = smoothstep(radius, 0.0, dist); // 1.0 near center, fades to 0.0 at radius
    float r = dist;
    float theta = atan(delta.y, delta.x);
    // Only modify r inside radius
    float r2 = mix(r, r + bulge_amount * pow(r, 2.0), effect);
    vec2 warped = center + r2 * vec2(cos(theta), sin(theta));
    if (tile == 0) {
        warped = clamp(warped, vec2(0.0), vec2(1.0));
    }
    gl_FragColor = texture2D(tex0, warped);
}
Additionally, here's our GLSL Shader Actor Tutorial Article for Isadora
Since you're trying to modify existing shaders, the part of the article that's probably most relevant for you is Tutorial 3: Adding Real-Time Parameters to a Shader as this tutorial explains the format of variables. In particular, knowing how to adjust the 'min' and 'max' associated with a variable is quite helpful:
Tutorial 3: Adding Real-Time Parameters to A Shader
The really exciting opportunity offered by the GLSL Shader actor is the ability to manipulate shader parameters in real-time. Shaders accept real-time input through a mechanism known as uniform variables. For example, if you wanted the shader to receive a floating point number, you would add a line like this.
uniform float myVariableName;This defines a floating point number called myVariableName as an input. Then, you would use that variable in your code as needed. The trick here is to make that variable available to you as an input to the GLSL Shader actor. This is achieved using a special comment line that you add to the shader like this
// ISADORA_FLOAT_PARAM(name, id, min, max, default, "help text");In OpenGL Shader Language, any line that starts with "//" is considered to be a comment; in other words, it is ignored by the compiler. But it is not ignored by Isadora. Using comments like the one above, you can create an input for the GLSL Shader actor that sends its value to a uniform variable in the shader
Let's go through each part of this special comment in detail
// ISADORA_FLOAT_PARAM — This portion simply identified what kind of parameter is being defined. In this case, single floating point number. name— This is where you define the name of the variable. This name must exactly correspond to the variable name given in theuniform variable— statement in the shader code. You cannot include spaces in this name; if you need a space, use the underscore (_) character instead.
id — This identifier, which can be from 1 to 4 characters long, uniquely identifies the input. Should you re-arrange the order of the inputs, Isadora uses this identifier to ensure the links to that input are maintained. For each shader program, this identifier must be unique.min — For numeric parameters, this defines the minimum possible value for the input. max — For numeric parameters, this defines the maximum possible value for the input. default — For numeric parameters, this defines the default value for this input when the actor is added to the scene. This input is only meaningful if you add the source code for this shader to Isadora's GLSL Plugins folder. (More on this feature later.) "help text" — This defines the help text that will appear in the information view for this input. If you share your shader code, you can help those who use it by providing useful, descriptive information about this input. Isadora's philosophy has always been to make it easy for the user to use the program; giving useful details in the help text supports that philosophy.Hi there,
I have a video of a head talking that is to be mapped onto a scan that's been 3D-printed as a concave imprint. It would be great to "correct" the distortion in Isadora, if possible.
Any tips for mapping this face better onto the surface to reduce as much distortion as possible? I have the mesh itself. I also was thinking I could get pretty close with some inverted version of the bulge distortion, perhaps?
Best,
Rory
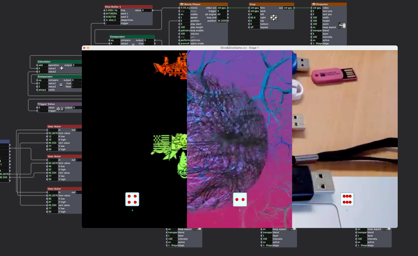
Here is an update that uses the dice roll to match video slices- enjoy if you are interested. download

Hi,
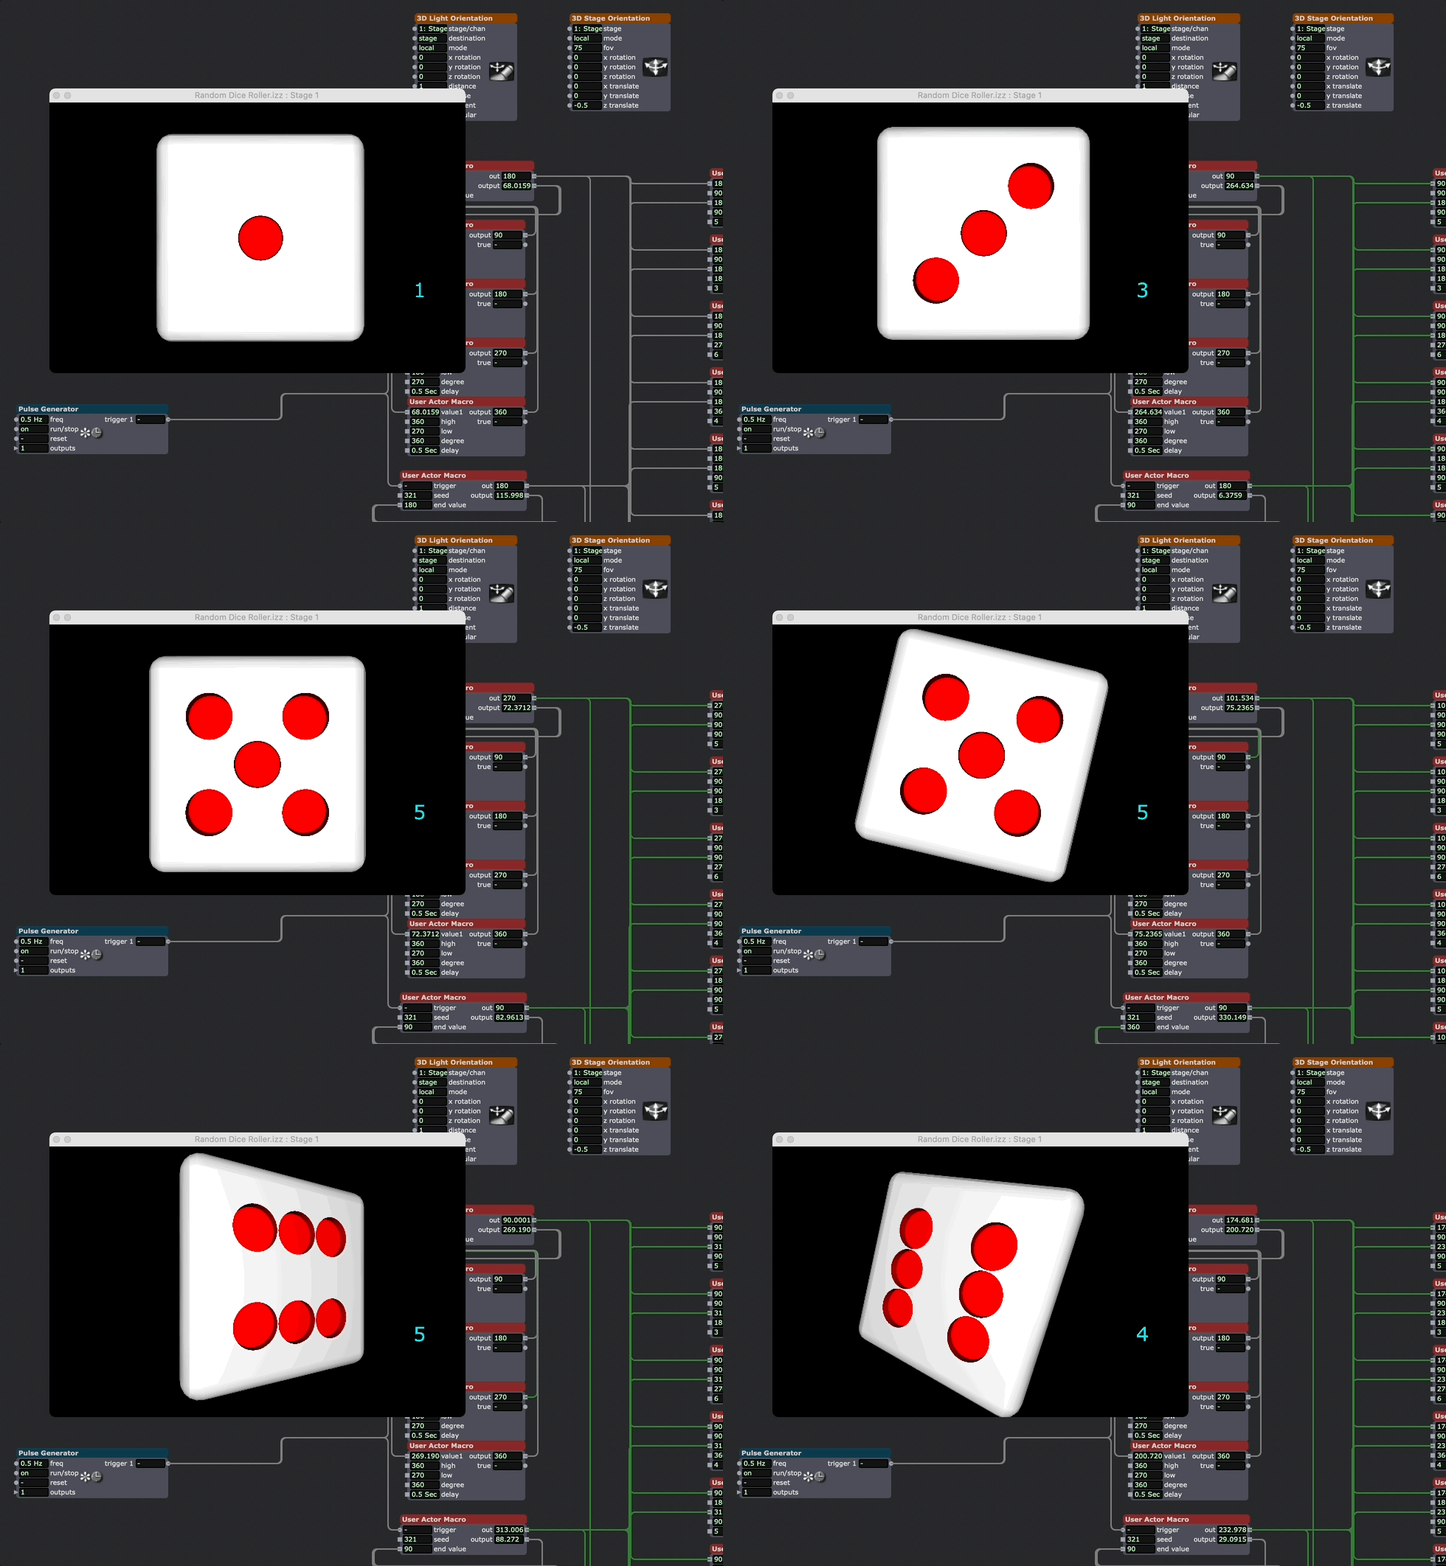
I have made a simulated dice roller that triggers using the Random actor and a .3ds file. I want to know if there is another way to approach this? download

best wishes,
Russell
@miawa said:
using motion tracking within the patch to move pieces up/down/left/right
This motion tracking tutorial file of mine may also be helpful: https://troikatronix.com/add-ons/tutorial-basic-motion-tracking/
As @bonemap said, you'll need to learn to program some logic. Here's my basics of logic file:
2023-04-20_basics_of_logic_revised.izz
For your purposes you'll want to look specifically at "Q16 - Pairs of Values Within A Range" since you're looking to trigger things based of of horizontal and vertical position values.
Other helpful tips for getting started on this:
- You'll want to understand how initializing values works in Isadora so here's a video tutorial.
- You'll want to understand how scaling works in Isadora so:
- Here's a scaling tutorial video from our YouTube channel.
- Here's an example file that demonstrates how automatic scaling works.
- Here's an example file that demonstrates scaling in general
- Here's an example file centered around scaling for the Stage Mouse Watcher actor
- You'll want to check out actors in the "Calculation" Actor Bin (it has a division symbol).
- Particularly the Calculator, Comparator, Data Array, Inside Range, and Limit-Scale Value actors.
- You'll want to check out actors in the "Control" Actor Bin (it has a gear symbol).
- Particularly the Gate, Trigger Value, Selector, and Router actors.
- In the "Mouse & Keyboard" Actor Bin, you'll likely want to prototype using the Mouse Watcher or Stage Mouse Watcher actors.
- You can right-click any actor and choose the top option "Show Actor Help in Browser" to see descriptions of the actor itself as well as all its input and output properties.