Hello everybody!
I'm having some issues with overlaped elements.
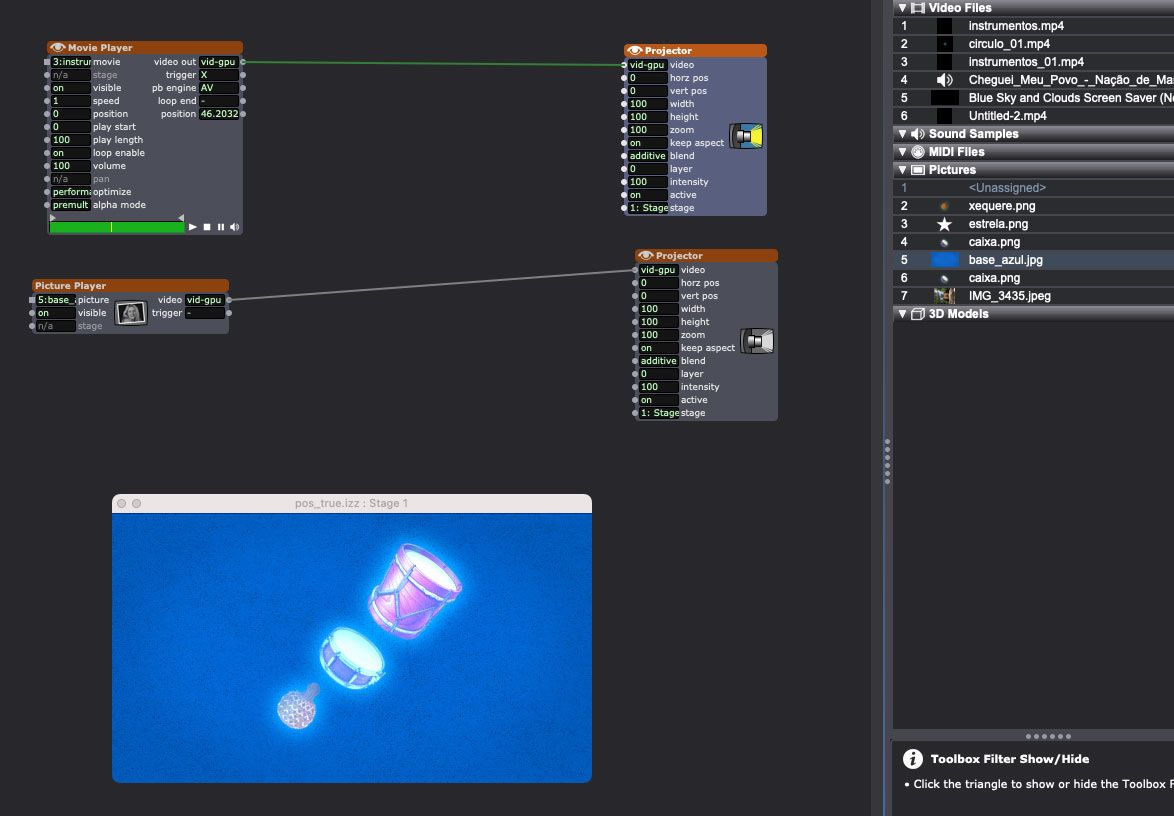
When I combine a transparent video element with a jpg background it automatically generates a "luminous" effect on those images. It also occurs with statics elements.
Does anybody knows how I can take this effect off and normalize this situation?
Tks a lot :)
img: With luminous effect in colored images
img: Without luminous effect in colored images 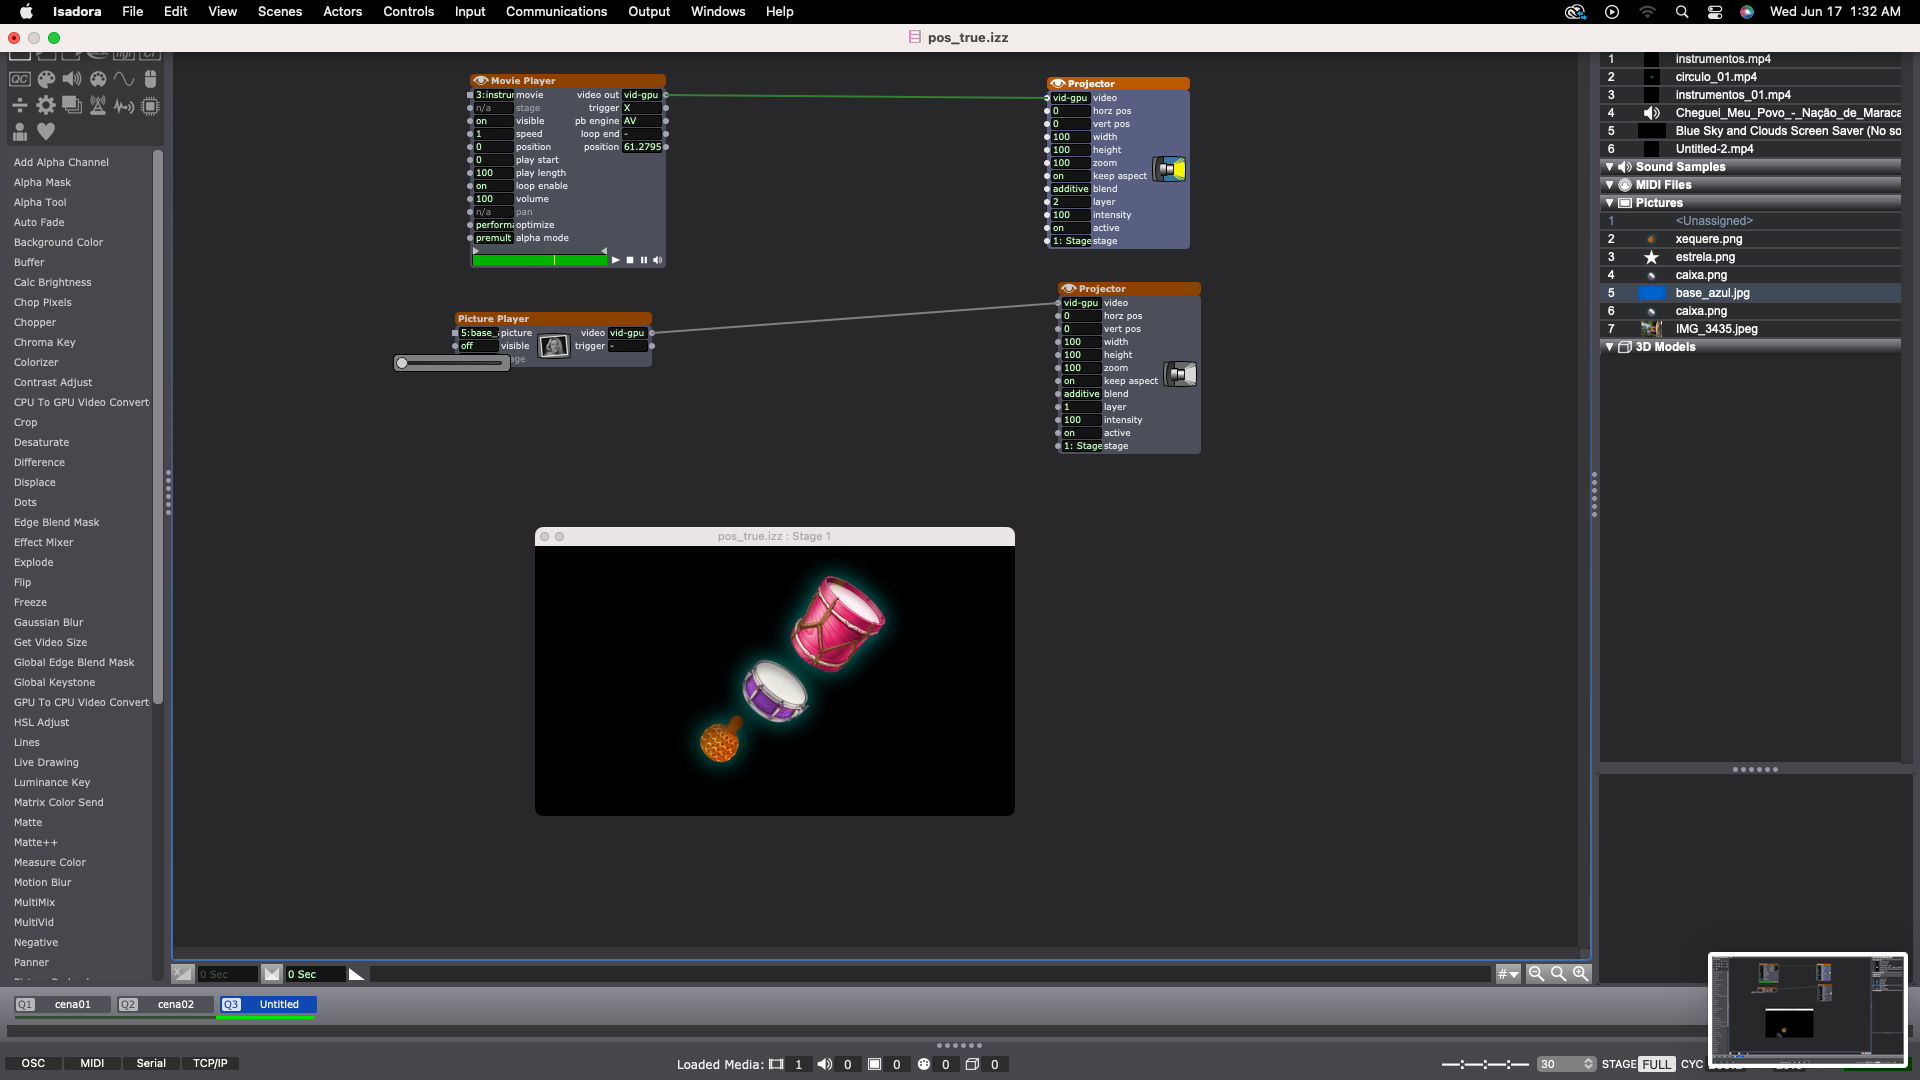
For anyone coming to this for answers like I did, there is now a "Float to Integer" actor that will do this. And if you're using a timer, which actually outputs in millis, divide by 1000 to get seconds first.

So you're all good now? Maybe it has to do with the order in which things are done. Try to experiment with whether it crashes or doesn't crash if:
- You open Isadora, then Rokoko, then start streaming
- You open Rokoko, then Isadora, then start streaming
- You open Rokoko, start streaming, then open Isadora
To make clean tests, I'd do a restart between trying each of these.
Quick follow-up: I completely shutdown and restarted my Mac and restarted. No crashes.
That's right. To test out Legacy, I streamed one of the pre-packaged mocap recordings into Izzy. That worked fine; no crash.
To reiterate the problem, I used the same setup for a show back in January, and everything worked great. The only difference now is software. I updated Izzy to 4.1.3 a few weeks ago. Rokoko required me to update the Studio software to the current version a week or so ago.
To reiterate the problem: the setup is: v2 Smartsuit, recent version of Rokoko Studio, Izzy 4.1.3, and a MacBook Pro). The crash happens when I wear the suit or stream a recording of me in the suit. I have both softwares running and, when I click "Activate" on the streaming option in Studio, the Studio Live Watcher starts receiving data and then Izzy crashes. Sometimes the crash happens immediately and, at others, it takes a few minutes to happen. I've been sending the crash reports, assuming that's helpful.
Let me know any thoughts / suggestions.
Best,
Eric
@emullis said:
2. I checked it with Legacy, and Izzy is not crashing with that version.
Ah, and so you can't use the v2 Suit with the legacy version of the software?
JavaScript can't help. But Pythoner could offer a solution I am sure.
I can also enter a feature request to extend the actor. Truthfully though that won't be a high priority item, although it might be pretty easy.
Try:
- Without Isadora open, unplug your Kinect
- Launch Isadorayour Isadora file
- Change the 'mode' input on the OpenNI Tracker actor to 'both'
- Save the file
- Quit Isadora
- Plug in the Kinect
- Launch Isadora and open the file
If it works, you'll be able to use both color and depth, so you won't need to change the mode input again.
Hi everyone!
I'm Jean, new to the community, so hopefully someone has already the answer for this. I've been trying the Kinect v2 on my Macbook Air M1 to play with the OpenNI actor, but had no luck trying the color mode. Depth mode is ok so far, but whenever I change it from depth to color mode, or from depth to both color and depth mode, Isadora crashes or freezes. I wonder if someone has had a similar experience and how has it been solved or managed.
Thanks for you attention and patience on this matter